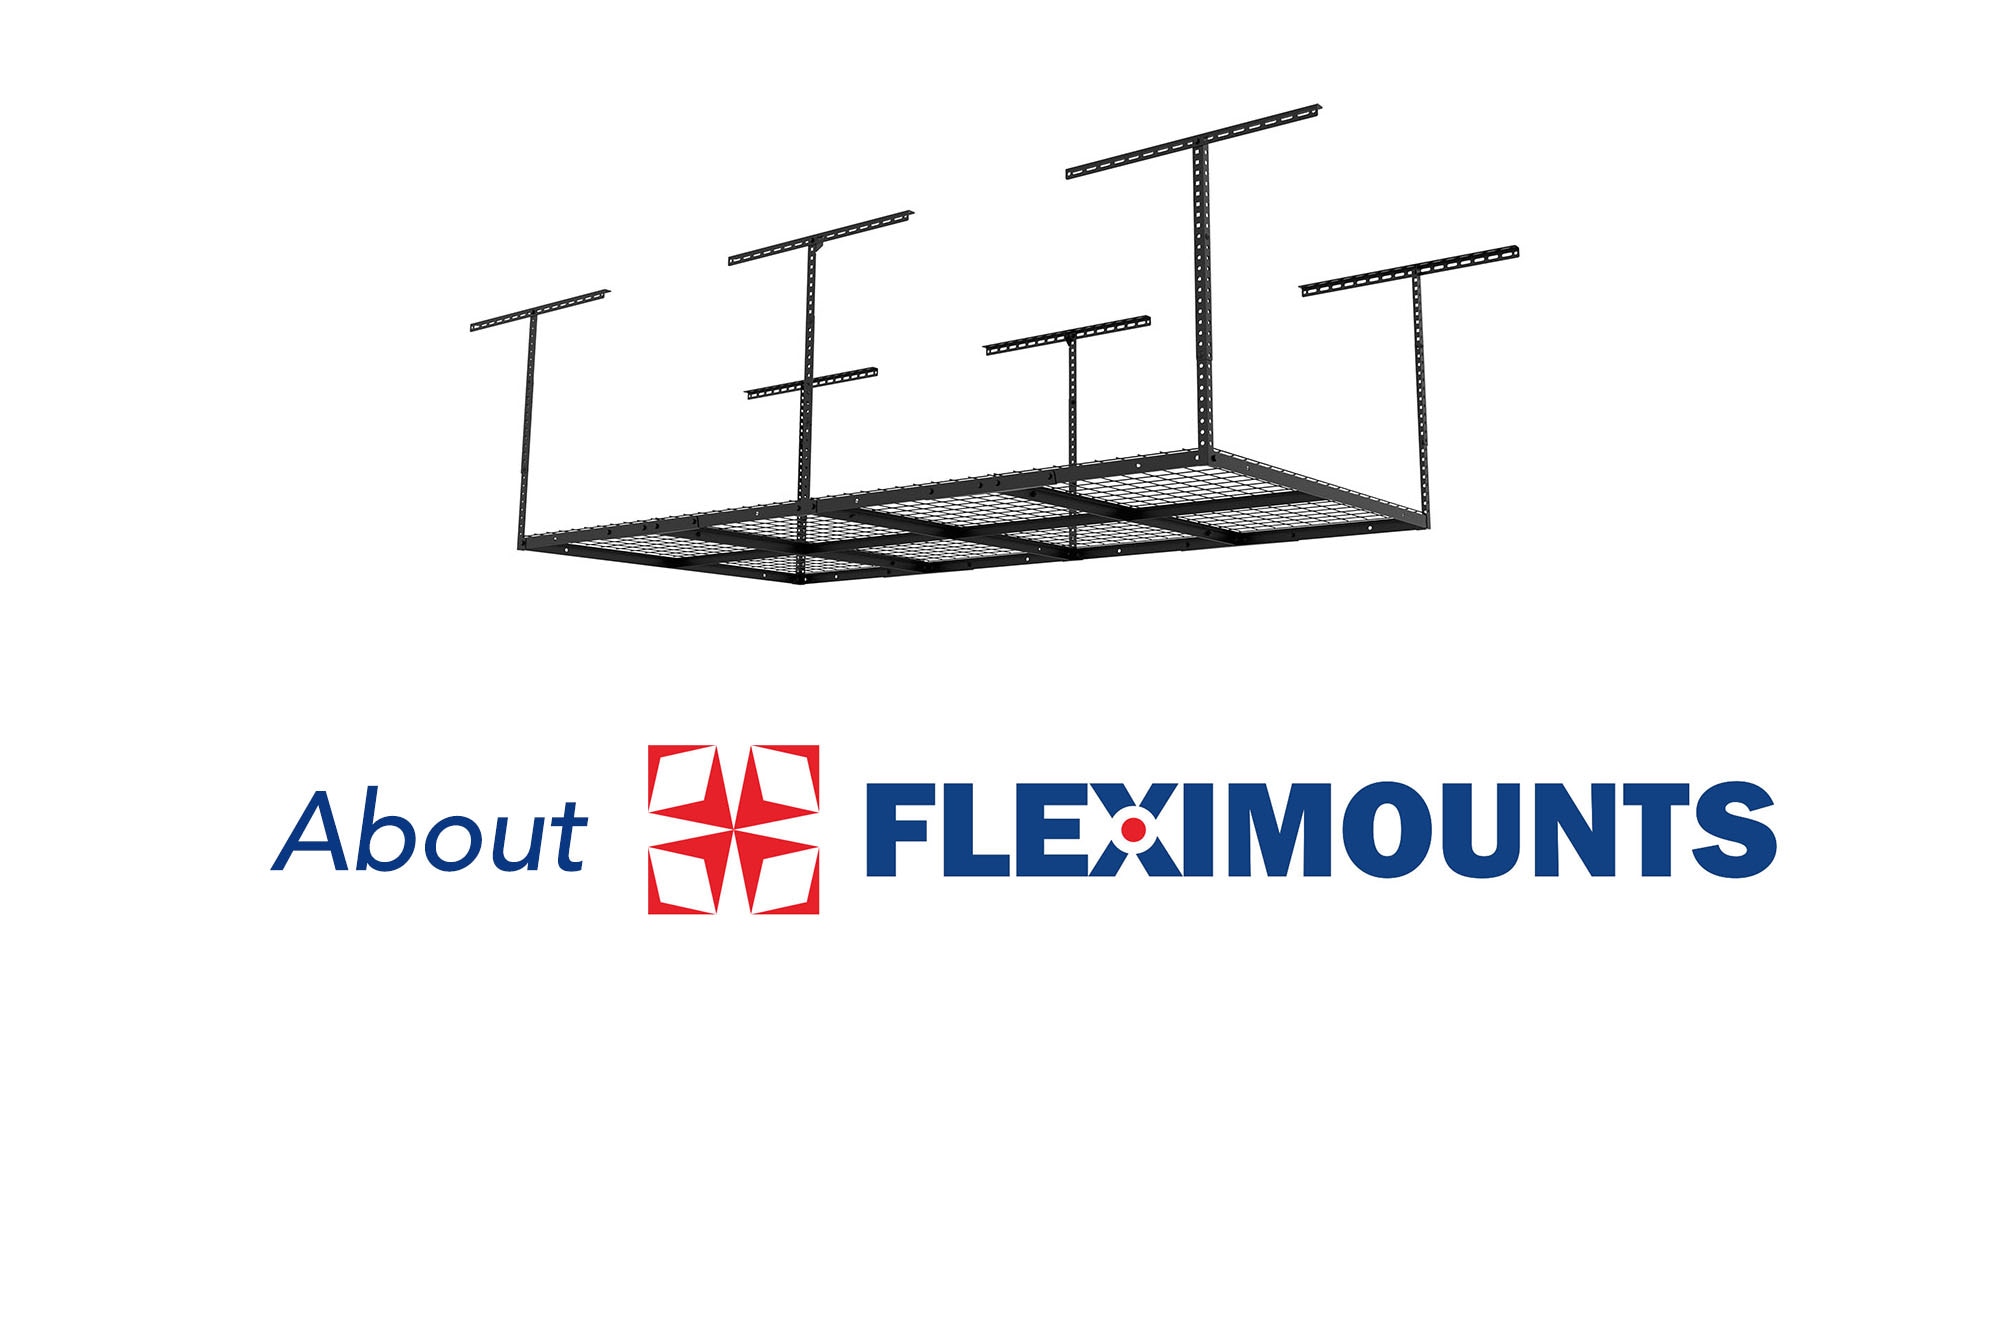
People are getting wiser on choosing the garage storage nowadays –
overhead garage storage to be specific. They want something that could allow more space in their garage, eliminate the clutter, and keep their tools safe at all times. A cluttered garage is unpleasant to the eyes, and at the same time, can bring harm to the family especially when sharp tools and hazardous material are easily reached by children, and this is where overhead garage storage comes to the rescue.
To have a further understanding of the assembly and to know more reviews of the FLEXIMOUNTS Overhead Storage Garage, read along!

Features of the FLEXIMOUNTS Overhead Storage Racks
What’s good about FLEXIMOUNTS is that they offer installation solutions for 4’x8, 3’x8′, 4’x6′, 4’x4′, 3’x6′ size options, and can be installed into wood joists and concrete ceilings. Other features include:
- Huge storage space and great weight capacity. You can store large bulky items without any problems.
- Compared to other garage racks which are often limited to four vertical posts, these racks come with eight heavy-duty vertical posts.
- Great construction design: The integrated wire grid design and the frame are welded together, making it sturdier and stable.
- FLEXIMOUNTS’ racks are 75% Pre-assembled. Easy to install. All necessary hardware and instructions are included.
- Cold-rolled steel material ensures long-lasting use.
- The package comes with 1x Garage Rack and accessory hooks.
Installation Videos
Watch the detailed process of installing overhead storage rack and how you can do it easily without getting stressed on the manual like most usual instruction manuals.
Video 1. Introduction and Installation Process
https://youtu.be/00LhPp0Z9vM
This official FLEXIMOUNTS video will show the installation process and some features, and instructions needed.
Step 1. Use a stud finder to locate the joints
Step 2. Identify a location to mark the mounting points
Step 3. Drill a hole on the mounting points and install the ceiling brackets
Step 4. Assemble the vertical posts
Step 5. Attach the vertical posts to each ceiling bracket
Step 6. Attach and assemble the wire grids
Step 7. Simple insert the wire grids at the bottom and tighten the wrench
Video 2. Jon’s DIY and Easy Installation
https://youtu.be/nbCTZgCzLJg
For first-timers, here’s another easy installation video done by content creator JON’S DIY. He shows the details of the installation process for easier following. Check it out.
Video 3. April Wilkerson’s Organizing Her Garage
https://youtu.be/e9lP8GMcXow
In this video, April and his partner show how they transformed their garage into an organized and decluttered one after using our FLEXIMOUNTS Overhead Garage. She and her partner work on a different side, Cody (his partner) on the automotive side, and April on woodworks. See how they worked together and clean their two-door garage.
With overhead storage racks, more floor space can be saved. You can utilize these free spaces and turn them into something purposeful. On the other hand, you can also
transform your garage into a bar, into a fitness room, or even a playroom for your kids.
What else do you want to know about us or garages? Leave your comment here and let us know!